Saturday, 22 February 2014

Lavender Soap

I've decided to expand my crafts from candles a bit, and one project that I thought would be interesting was soap. Practically, it is actually quite similar to candle making, though of course with very different results. I also love the limitless possibilities, and decided to start with botanical soap. Outside our house we have two large and quite old lavender bushes, the flowers of which need to be collected ever year. This was partly the inspiration for making this soap, as last year's buds have been drying for some months now and it was time they were put to some use. The other projects I use our surplus of lavender for include lavender scones and cake, as well as lavender-filled posies. Enjoy the soaps!

Lavender Soap
One cup of dried lavender buds
Pestle and mortar
650g goat's milk soap base
Heatproof bowl or small saucepan
Large saucepan
Metal spoon
3 tsp lavendar essential oil
Tupperware container (I used a flat bottomed takeaway tub) (12.5x18cm approx)
Sharp knife


  1. Divide the lavender into two equal portions. Put one in a pestle and mortar and set the other aside. Grind the first portion into fine bits.
  2. Boil up a kettle of water. Whilst you wait, cut up the soap base into smaller, even  pieces. This will help it melt quicker.
  3. Pour the water into the large saucepan and place the bowl/small pan inside. Keep the heat under the pan fairly high, so the water is simmering.
  4. Place the soap base in the pan and melt. Do not stir that often as it will cause bubbles to form.


  5. When all the soap has completely melted, remove from the heat.
  6. Add the essential oil. Do not exceed 3% oil of the total weight of the soap.
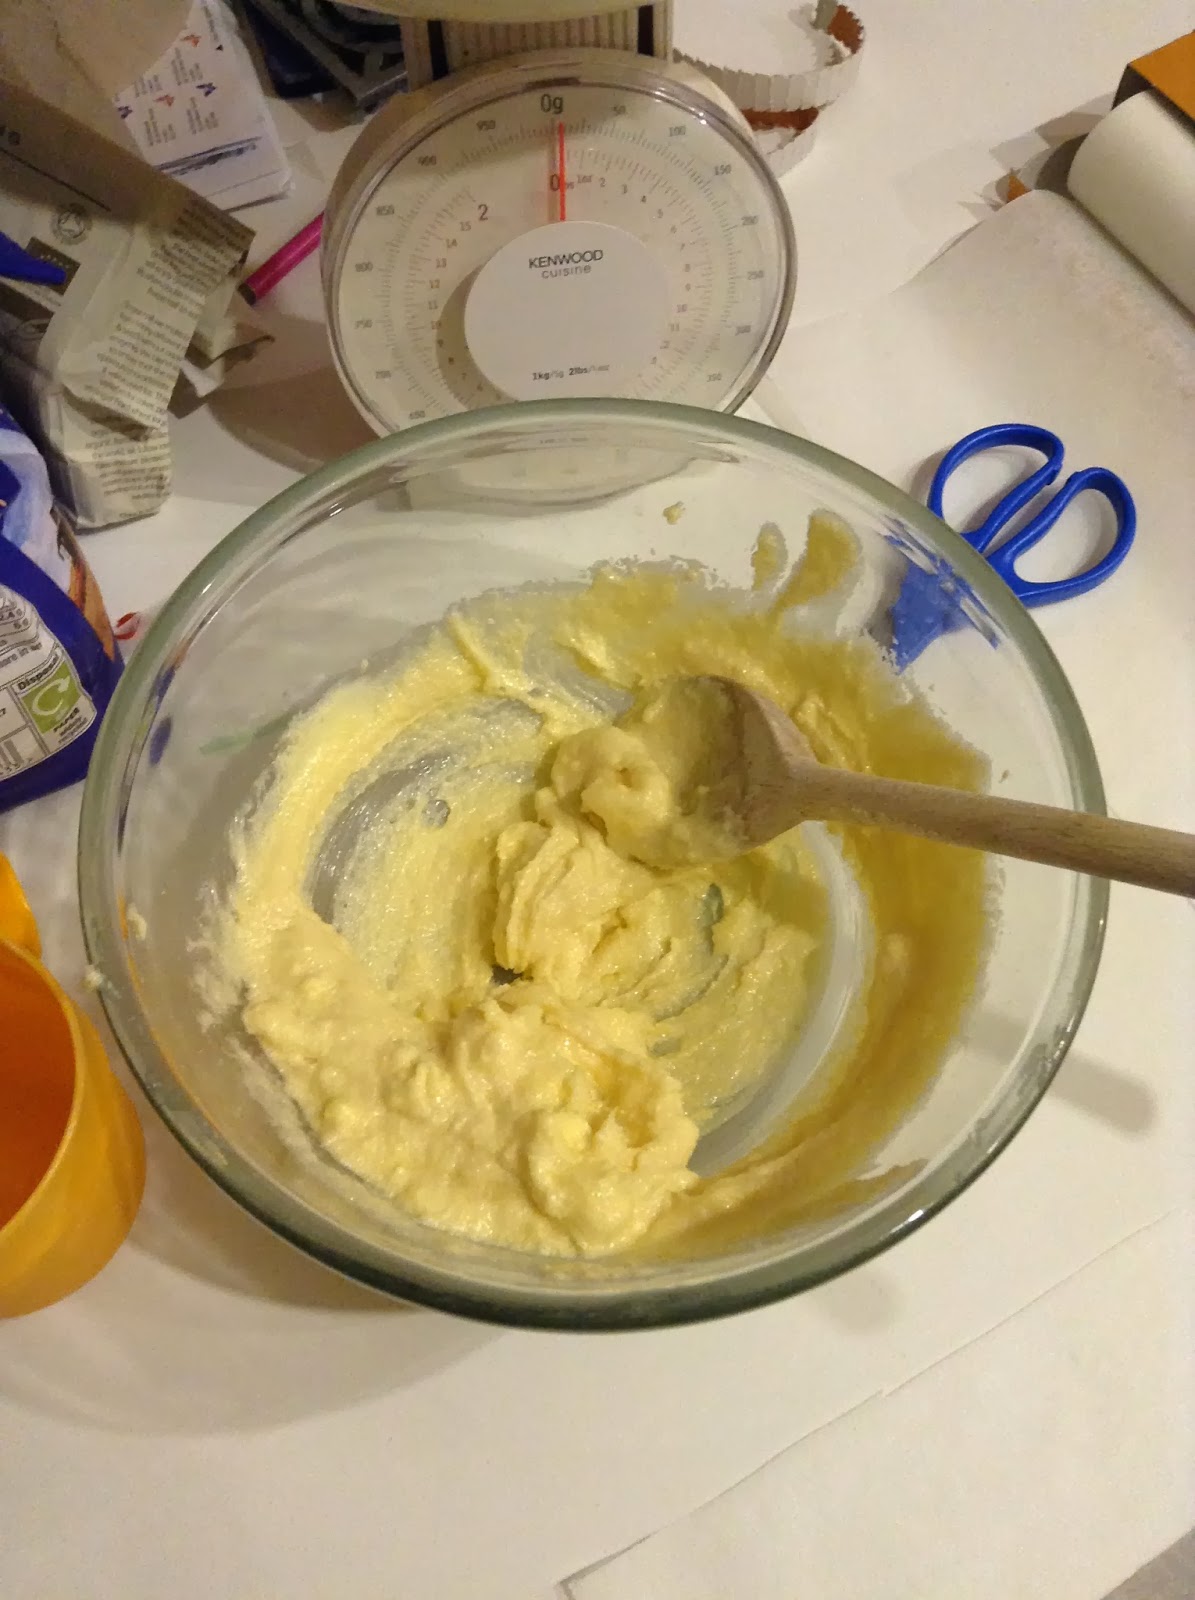
  7.  Stir in the grinded portion of lavender and keep stirring for  a few minutes to make sure that the buds remain suspended throughout the soap, rather than just floating on top.
  8. Allow it to cool slightly, but not form a skin (if it begins to wrap around the spoon, then it's done)
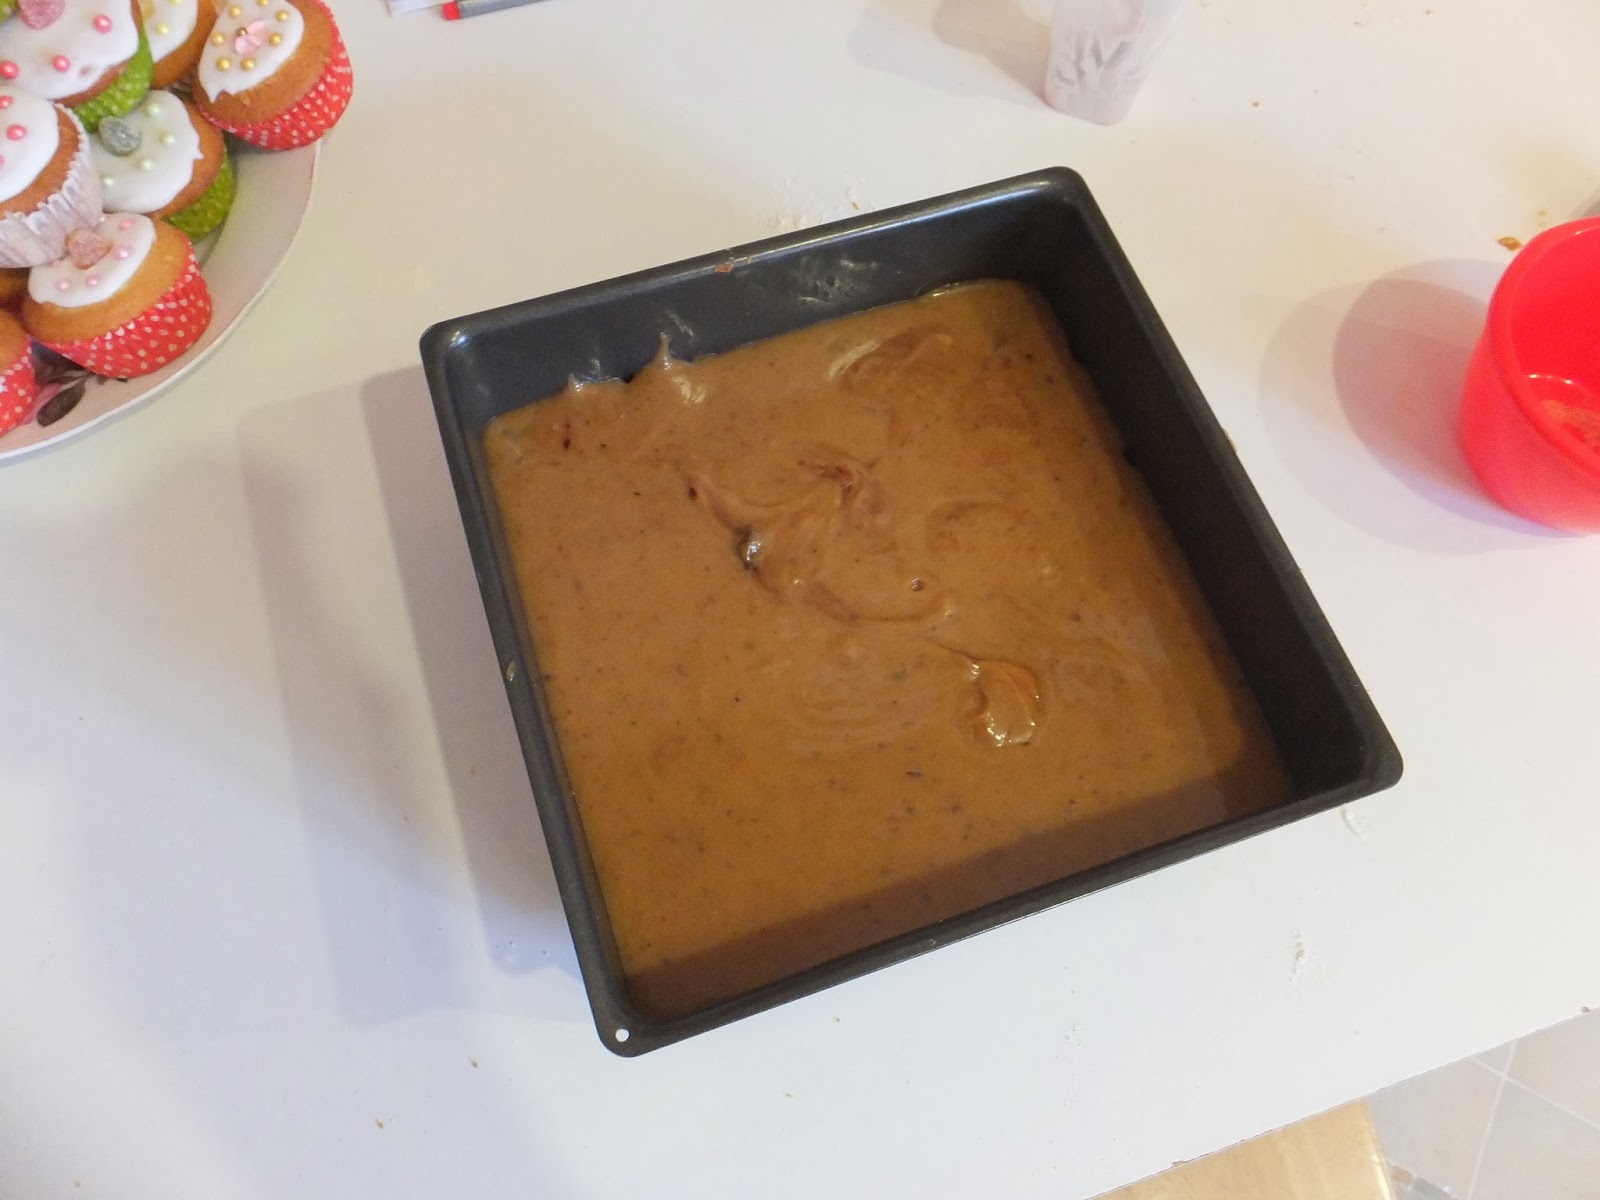
  9. Pour into the container. Sprinkle the whole lavender buds on, covering the soap top. Press in gently with your fingers to make sure they have stuck to the surface of the soap.
  10. Leave to cool for ten minutes then place in the freezer for a further hour, or alternatively several hours outside the freezer.
  11. Check that it is set, then turn the soap over on a board. It should fall out quite easily. If not, run a knife around the edges first, or, if you are using a disposable plastic tub like me, flex the sides to push the soap out.
  12. Cut the large slab into smaller pieces (about four). Perfect as a gift for friends.
  13. If you aren't using the soap straight away or plan t give it as a present, wrap the soap individually in clingfilm or cellophane bags. This prevents the soap 'sweating': the glycerine attracts moisture from the air if left out.
Alternatives/ideas:
Honey and finely ground oats add exfoliating qualities to the soap.
These are some honey and oat soaps I made. The colour was achieved from an orange dye.
Alternative flowers could include rose or dried calendula, which retains a vibrant yellow colour when mixed into the soap
Add shea butter for a creamy texture, but don't exceed 5g for every 100g of soap base
There are lots of colours and scents available, as well as different moulds. I may feature a different project later, perhaps using clear soap base.


Tuesday, 18 February 2014

Stained Glass Window

I have recently taken up a few new projects, including leading, soap making, quilling and mosaic. Here's how to make a simple stained-glass effect window. Remember to adhere to basic safety when dealing with lead: don't use it around food and wash your hands afterwards.
NB: I am not associated with any external links from this page (DecraLed) however it is the website I use.

Stained Glass Window 
Sheet of glass
3mm lead strip roll (oval or flat profile) Buy 
Coloured adhesive film Buy 
Boning peg Buy 
Paper, pencils, pens
Sharp scissors/Craft knife
Tracing paper
Methlayted spirit/lighter fuel Buy
Squeegee Buy
Preparation
First, you'll need a design to lead. This can be from the internet or one you have made yourself: if you draw it yourself, make sure there aren't any fiddly, small lines as these will be hard to lead.

  1. Draw the design up, full size, onto a sheet of paper.
  2. When leading, you don't want 'butted' joins: that is, where the end of a piece of lead is showing. The ends should be tucked under other strips, therefore when leading you should apply the shortest bits first and end with the edging/longer lines (see diagram)
  3. Colour code your design to adhere to this (ie, make sure the outline is leaded last.) In my diagram, for example, the leaves (orange) need to be leaded before the outline (lilac) as the ends should be underneath.
  4. Colour in your design with the colours you will use. Experiment with different colour combinations.
Two methods of leading
Now, there are two things you can do. If you want only one side to be the end visible product (eg a placemat) then follow the first set. If you want the finished product to be viewed from both sides (eg a window pane) then follow set 2.

Set 1
  1. Hold the design up to the window and place your desired coloured film over the paper. Trace around the shapes where you want there to be that coloured film.
  2. Cut out the shapes with sharp scissors, around the outside of the penline. 
  3. Repeat with all colours.
  4. Take your piece of glass and clean vigorously with alcohol or lighter fuel. Don't use window cleaner, as it leaves behind a soap layer to which the lead and film won't stick. 
  5. Using double sided sticky tape, attach the paper design to the back of the glass. Arrange your shapes of coloured film over the glass. 
  6. Peel of the back of the film and slowly position it on the glass. Using a squeegee or the back of your thumb, press out the air bubbles. Put on all the pieces of film. They should meet at the edges but not overlap. Leave at least an hour before leading.
  7. Follow  step 2-4 of Set 2
Set 2
  1. Attach the design to the back of the glass
  2. Following your leading order, cut a piece of lead that is a bit longer than you need. Smooth the lead out between your thumb and forefinger. Peeling off the adhesive strip as you go, press the lead onto the glass, gently stretching it to fit the contours of your design. If you are reading this from set 1, make sure that you cannot see the edges of any film as you apply the lead (it should be under the strip). Cut off excess lead with scissors or a craft knife. 
  3. Run along the length of the strip with the square end of the peg, pressing down firmly to ensure a tight bond. Then run the pointed side along the edge of the strip. This makes the bond watertight.
  4. Complete for the whole design, following the same process and making sure that all ends are tucked under other lengths of lead.
  5. If you are reading from Set 1, the leading should now be complete. Clean the glass again and it's done. 
  6. If not... you should have something like the picture above. Turn over the glass and peel off the paper. Clean the other side.
  7. Take a piece of tracing paper and place over a section that you want to colour. Trace around the shape, keeping to the middle of the lead strip.
  8. Transfer onto the back of the film and cut out. 
  9. Stick on all the pieces as in Set 1, making sure that the film remains within the boundaries of lead. Turn the glass over frequently to make sure you can't see the film poking out  - if the shape is too big, use a craft knife to cut away some of the film. If it is too small (you can see a gap through the film from the other side) peel it off and start again or make sure you lead over the gap. 
  10. Leave at least an hour before leading.
  11. Lead this side as with the other, following the lead strips exactly as they are on the other side. Turn over to make sure that the lead is properly lined up.
  12. The piece is now finished, and presentable from both sides! Attach to a window or a similar place. 
    The other side of this design will look identical
  13. Now wash your hands thoroughly. 
And in other news, here's a spherical candle I made:
Isn't it so cute?!?

Sunday, 16 February 2014

Battenberg Cake

I love Battenberg. Or maybe I just like marzipan and cake. Same difference. Anyway, whilst Alice is away (she doesn't like it, tsh) I decided to try to make a Battenberg Cake, for the very first time. And I am very happy with the results. Yum.

Battenberg Cake
Prep time: 30 mins to 1 hour
Serves: Ten
Cooking temp: Gas 5, 190C
Cooking time: 25-30 minutes

Ingredients
175g very soft butter
175g golden caster sugar
3 medium eggs
175g self-raising flour
1/2 tsp vanilla extract
red food colouring paste/gel
6tbsp apricot jam
500g ready-to-roll golden marzipan
Icing sugar, for rolling

Method
  1. Preheat the oven.
  2. Grease a 20cm square cake tin.
  3. Cut out a strip of baking paper with the dimensions 30cmx20cm. If you use a slightly different sized tin, increase/decrease paper size accordingly (one dimension has to be about 10cm longer than one side of the tin) 
  4. Make a fold in the centre. This is the division so that the two coloured cakes can cook at the same time.
  5. Press into the tin, keeping the fold in the middle. Make sure it is high enough so that when the cake rises it will not go over the top (5cm high fold or more)
  6. Put the butter and sugar in a bowl and cream together. 
  7. Add the eggs and vanilla extract and beat.
  8. Mix in flour until combined. 
  9. Transfer batter to a bowl on a set of scales. Remove half of the batter and put back in original bowl. 
  10. Add red food colouring to one bowl until you have achieved a good colour: a light pink is ideal.
  11. Spoon the two cake batters in either side of the divide and smooth down with the back of a spoon.
  12. Bake in the middle of the oven for 25-30 minutes, until they are risen and firm. Cool in the tin for five minutes.
  13. Turn the sponges carefully out onto a rack. If they are of different sizes, press down on the cakes gently with the flat side of a cake/spreading knife.
  14. Peel away baking parchment and leave the cakes to cool completely.
  15. To assemble: Place one cake on top of the other. Use a sharp knife to trim off the uneven edges so both cakes are the same width and length. Cut the sponges in half lengthways, to make four long rectangles of cake.
  16. Set aside. Heat the apricot jam in a pan for a few minutes, until the large lumps have melted down. Do not over heat.
  17. Press the jam through a sieve to get a sort of thick apricot juice.
  18. Using a cooking paintbrush, apply jam liberally to the long side of a cake rectangle, and sandwich with another rectangle of the other colour. Repeat with the other two.
  19. Add more jam to the top of one of the pairs, and place the other on top to create a checked design. Add more jam to the top and long sides.
  20. Dust a clean surface with icing sugar and roll out the marzipan to 40cmx20cm, and about 5mm thick. It should be able to cover the cake completely.
  21. Put the cake upside down on the marzipan and add jam to the underside. Brush a bit onto the marzipan as well.
  22. Carefully wrap the marzipan around the cake and press all sides firmly to make sure it has stuck. 
  23. Turn the cake over so the join is on the bottom of the cake.
  24. Trim off the ends of the cake if the marzipan is hanging over to create a neat, even face. 
  25. Serve on a plate and enjoy! 

Sunday, 2 February 2014

Millionaires' Shortbread

Millionaire's or Millionaires'? Caramel Shortbread or Wellington Square? Whatever. It's basically a shortbread layer under a thick chunk of caramel and chocolate. More time eating, less time wondering :D The pictures included are from where Alice and I baked these and some other goodies (recognise the rocky road? You can make them here) to raise money for her Romania project. As you can probably see, this recipie can make quite a lot and each slice is very filling! Good for a cake sale or if you have guests.
Cupcakes, rocky roads and millionaires' shortbread. YUM

Millionaires' Shortbread
Prep time: One hour (possibly more)
Serves: 16
Cooking temp: Gas 4, 180C
Cooking time: 30 mins

Ingredients
Shortbread:
150g Caster sugar
300g unsalted butter, room temperature
450g plain white flour
Caramel:
100g unsalted butter
3 tbsps golden syrup
100g muscovado sugar
1 can condensed milk
Chocolate:
200g plain milk/dark chocolate

Method 

  1. Preheat the oven.
  2. To make the shortbread: Cream together the butter and sugar in a bowl.
  3. Sift in a third of the flour (150g) and knead. Repeat until you have used up all the flour, to form a stiff bread-like dough.
  4. Press it into a fairly deep tin with your knuckles and the palm of your hand. Make sure that it is pressed to the corners.
  5. Depending on the thickness, bake for 20-35 minutes (mine were perfect after 35). The shortbread should begin to colour at the edges and a knife will come away clean if inserted into the middle. 
  6. Allow to cool.
  7. To make the caramel: This is quite similar to the banoffee pie recipe. Place all the ingredients in a small pan and heat for seven minutes, until it begins to thicken and the sugar is properly mixed in. Stir frequently.

  8. Pour onto the shortbread and allow to cool, in or out of the fridge.
  9. To make the chocolate: Melt the chocolate in a pan over boiling water, stirring to prevent it burning. When the chocolate is fully melted, pour over the caramel and spread evenly.


  10. Cool in the fridge for a few hours.

  11. Turn the bake upside down and put onto a flat plate, shortbread up. Cut into 16 squares - by turning it over you should prevent the chocolate cracking when sliced. Enjoy!