Monday, 28 July 2014

Doughnut cupcakes

Everyone loves doughnuts and cupcakes, so the next natural step... doughnut cupcakes! This combination of two desert favourites is heavenly, and very easy to make. There's a lot to like here.

Doughnut cupcakes
Prep time:  30 minutes
Serves: 12
Cooking temp:Gas 4, 180C
Cooking time:  25 minutes

Ingredients
200g soft margarine, plus 1 heaped tsp extra, melted
200g golden caster sugar
3 large eggs
300g self-raising flour
100ml milk
1/2 tsp baking powder
Jam such as strawberry or raspberry (you'll need about 2/3 of a jar)
Sugar cubes, roughly crushed, or granulated sugar (approx. 4 cubes or a few tsp of sugar)

Method
  1. Preheat the oven. Line a 12 hole muffin tin with muffin cases.
  2. Separate one of the eggs into small cups and beat the other two into the egg yolk. You don't need the single egg white (why not make meringue?) - leaving you with two eggs plus one extra yolk.
  3. In a large bowl, combine the soft margarine, caster sugar, eggs, flour, milk and baking powder until you have a pale, smooth batter.
  4. Fill the cases with half the batter, then make a small dip in each one. Spoon 2 tsp of jam in each (I did one strawberry and one raspberry).
  5. Cover with the remaining half of the batter. Bake for 25 minutes until risen and golden. Take out the cupcakes and leave to cool.
  6. Brush the melted margarine over the cupcakes, and sprinkle with the sugar.
They will keep for 2 days in an airtight container. (Will they last that long?)

Monday, 21 July 2014

Chicken and chorizo paella

Like with the risotto, paella presented a problem (r.e the fact that fish is often a key ingredient bit, see other post) but this recipe is delightfully fish-free, though unfortunately for any vegetarians isn't exactly meat free. Well, not at all. Chorizo is a favourite in our household and people kept stealing some as I cooked, so clearly it was a successful ingredient. Along with the chicken, paprika and peppers, this makes for a very nice dish to say the least, which even people who have insisted they are full will come back for more for (did that make sense? Probably not.)

Chicken and chorizo paella
Prep time: 50 minutes
Serves: 4

Ingredients
150g whole chorizo sausage
2 chicken breasts or boneless fillets
1 red sweet pepper
1 (190g) jar of M&S paella paste
300g paella rice
750ml vegetable or chicken stock
100g garden peas
1 lemon
Dried parsley or coriander to garnish

Method
  1. Peel and slice the chorizo into thick coins. Cut the chicken into largish chunks, a few centimetres square (if you're that exact). 
  2. Slice the red peppers into strips and then cut lengthways into thirds. Cut the lemon into wedges (in half, then each half into quarters).
  3. Heat a large, deep heavy-based frying pan and add the chorizo. Cook for 5 minutes until they begin to turn golden-brown. Remove to a small side plate.
  4. Cook the chicken until they begin to turn a light brown.
  5. Add the pepper and paella paste and cook for 2 minutes, stirring constantly.
  6. Stir in the rice and chorizo again, then pour over the stock. Bring to a simmer and cook, covered, for 20 minutes until the liquid is all but gone.
  7. Add the peas and cover again, then turn off the heat. Leave to rest for 5 minutes, then serve garnished with herbs and the lemon wedges.


Lemon cheesecake


OK, I admit, I don't even like cheesecake that much  - but my sister does, so I decided to make it as a welcome home present. Guess what the magic ingredient is? Yes! It is! Condensed milk!! We always keep a jar spare in the cupboard, as it seems to be useful for everything!* Except, maybe, quite a lot of things. :D Anyway, I ended up trying some despite my scepticism (Cheese? In a cake? ) and I actually thought it was nice, and the rest of my family said it tasted amazing too, so if you like cheesecake, bake away! Or rather, chill away...? It goes really well with raspberries, so I included a coulis recipe too, which takes about 5 minutes. Remember to make the rest in advance, though, as it needs to chill for long enough to set. Below to the right is a variation I made: by halving the recipe, I had just enough to fit perfectly into four small ramekins.  Cute!!

Lemon cheesecake
Prep time: 20 minutes and 5+ hours chilling
Serves: 10

Ingredients 
250g packet of digestive biscuits
125g butter or margarine, melted
Two lemons
397g can of sweetened condensed milk
300g soft cheese, such as Philadelphia

Method

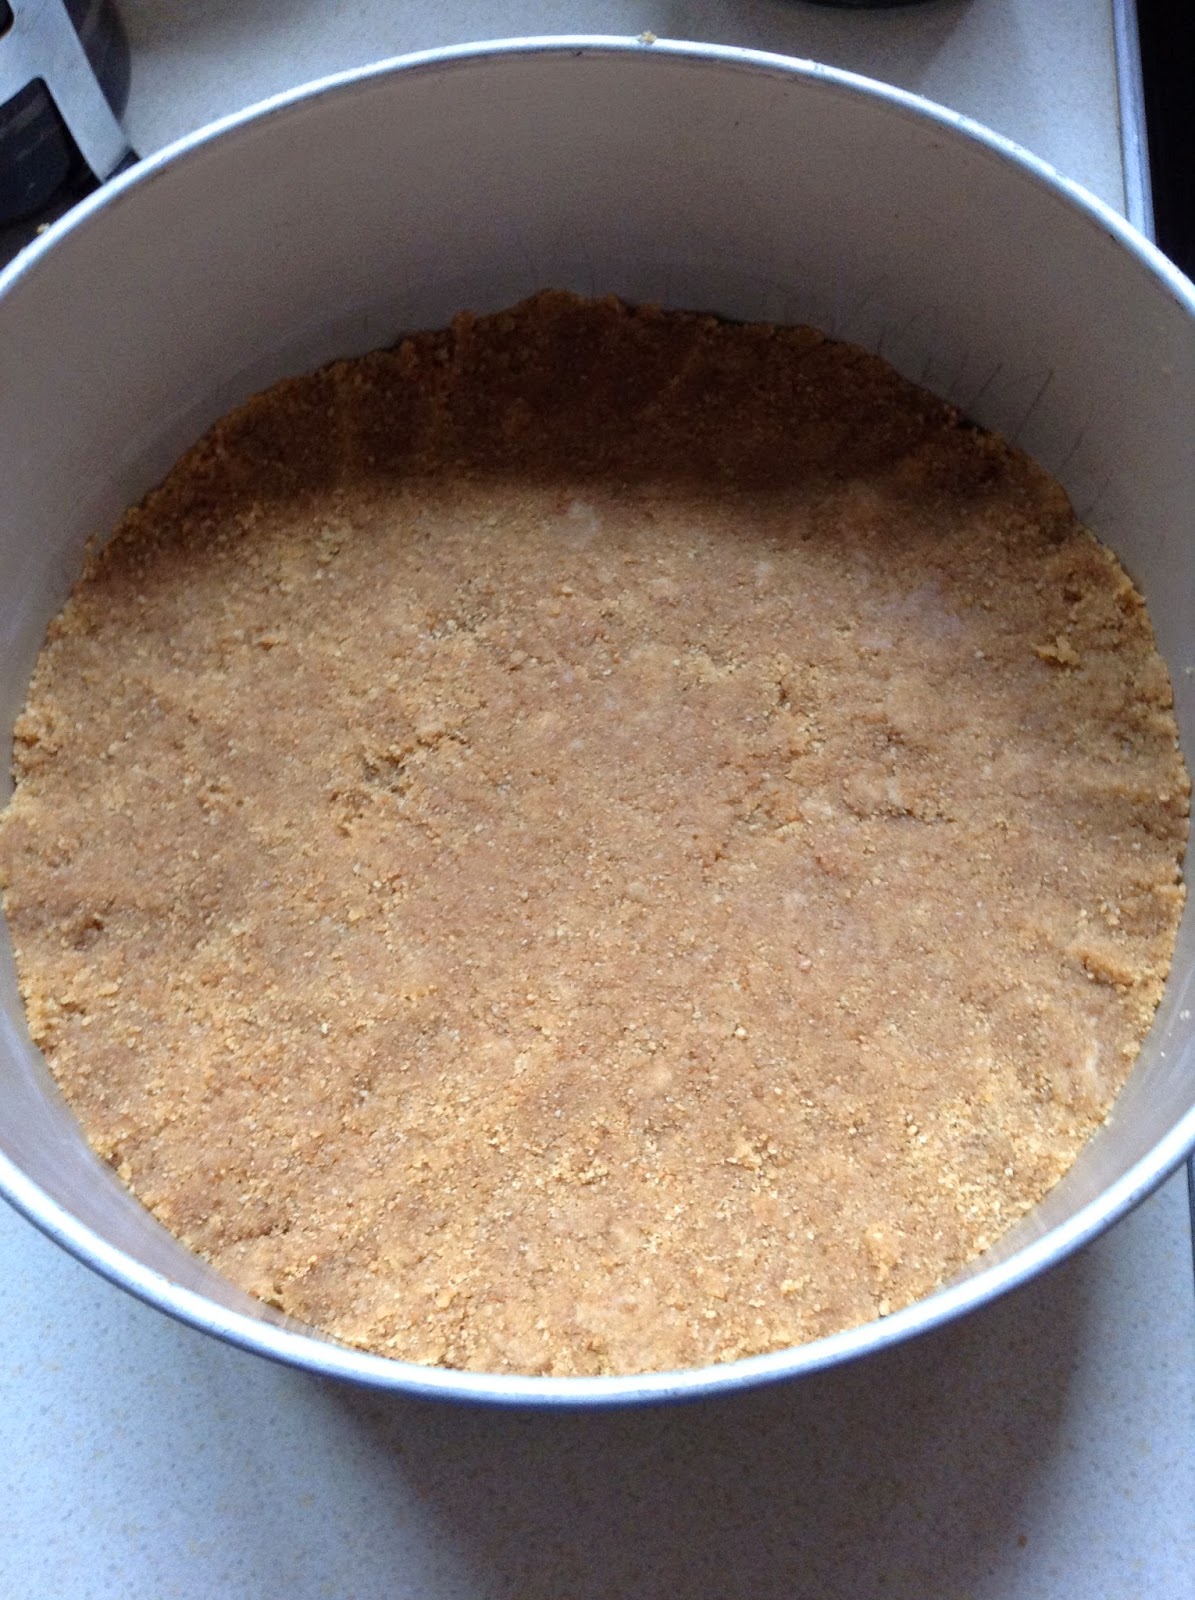
  1. Break the biscuits into crumbs, either by putting them in a sealed bag and whacking with the rolling pin or whizzing in a food processor.
  2. In a large bowl, mix the crumbs with the melted butter. Spoon into a 23 diameter circular tin and press down firmly with your fingers, smoothing the surface over. Chill for at least 10 minutes in the fridge. (The smell here really reminds me of banoffee pie :) )
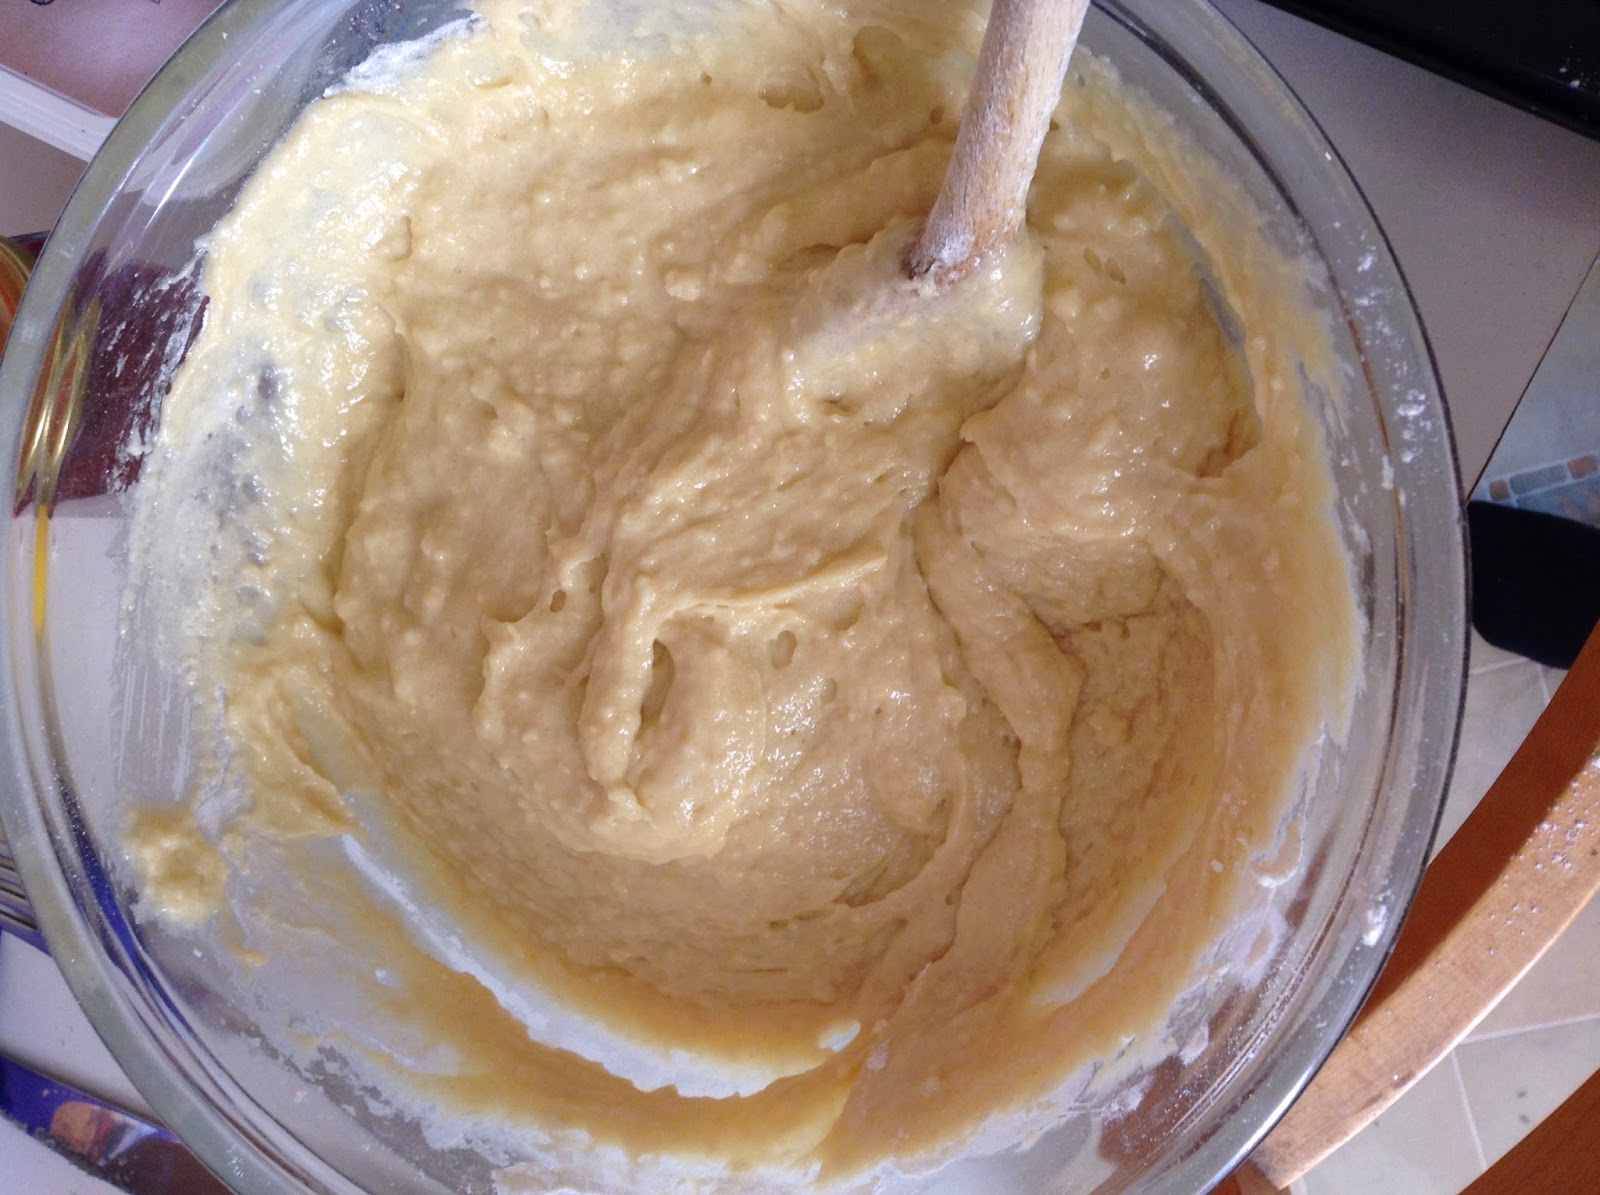
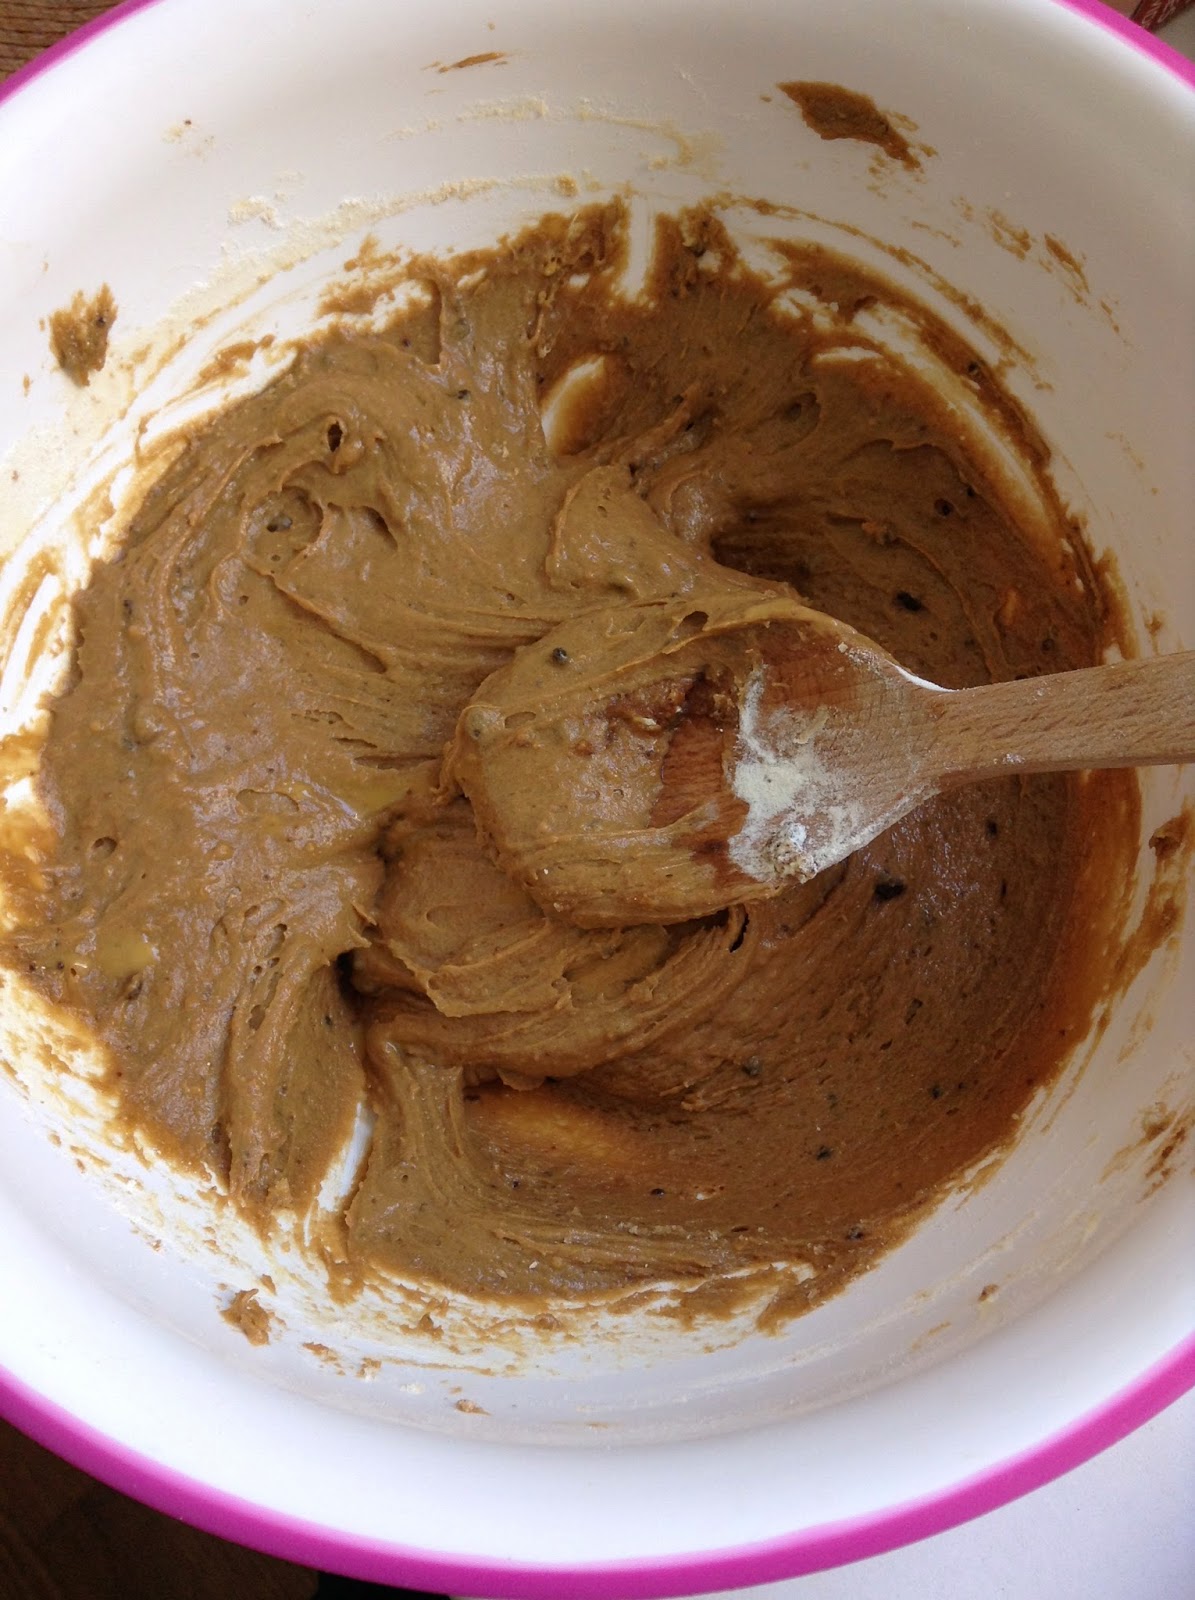
  3. Whilst the base is setting, juice the lemons and zest them. In a clean bowl, blitz the condensed milk and cheese, until the lumps have disappeared and you have a smooth creamy mixture. Pour in the lemon juice and zest and mix with a metal spoon. 
  4. Pour into the tin and smooth the top over with the back of spoon or a rubber spatula. Chill for at least 5 hours or even better overnight.
And once that's done, you can make the raspberry coulis:
Ingredients 
300g raspberries (Two packets)
1 tbsp caster sugar
1 drop of vanilla extract
A squeeze of runny honey, to taste

  1. Whizz up the raspberries using a hand-blender, reserving a few (about ten) to decorate the cake).
  2. Strain through a fine sieve into a bowl and discard of the pippy mixture. 
  3. Stir in the sugar, vanilla extract and honey, tasting and correcting the sweetness if you like.
  4. Serve drizzled over the cheesecake just before serving, with the whole raspberries arranged on the cheesecake. Have more raspberries handy, if you like, for people to help themselves.

    * Recipes I have done so far involving condensed milk:

Banana chocolate loaf cake

Well, we all know I do like banana... and chocolate... so, banana and chocolate cake anyone?? Yes please. This is so deliciously moreish, especially if you use good quality chocolate such as Lindt. You do need to use muscovado sugar for this recipe, it has a distinctive taste that makes up half the flavour of the cake (amazing, by the way).

Banana chocolate loaf cake
Prep time: 1 hour
Serves: 12
Cooking temp: Gas 4, 180C
Cooking time: 55 minutes

Ingredients
125g unsalted butter
225g dark muscovado sugar
2 large eggs
1 tsp vanilla extract
250g plain flour
2 tsp baking powder
5 ripe or overripe bananas, medium size
200g chocolate (100g bar of dark and 100g bar of milk - use a nice variety)

Method

  1. Preheat the oven. Grease and line two 1kg loaf tins with baking parchment, up the sides as well.
  2. In a large bowl, cream together the butter and sugar.
  3. In a separate jug, whisk the eggs and add the vanilla extract, and then beat into the bowl, followed by the flour and baking powder.
  4. Mash the bananas roughly in a small bowl or plate using a fork, breaking it down to chunks and not to a puree. 
  5. Chop the chocolate into rough pieces and add to the bowl, with the banana. Mix it in well.
  6. Divide the mixture between the two tins.
  7. Bake for 35 minutes in the centre of the oven. After this, take them out and cover with tin foil to stop the tops burning and return to the oven for the final 20 minutes. 
  8. Remove from the oven and allow them to cool before lifting out of the tins and serving. 


Sunday, 20 July 2014

Herb and cheese roulade

Another new venture - roulade. Basically a large omelette rolled up into a log. Impressive, and surprisingly much easier than I'd expected it to be. Serve this with a salad or more seasonal vegetables: I suggest a rocket salad to go with the Parmesan cheese. You can make this 12 hours in advance up to the end of step 5 - leave the roulade covered with a cloth and continue when you need to. 

Herb and cheese roulade
Prep time: 1 hour
Serves: 4, or 6 for lunch
Cooking temp: Gas 5, 190C
Cooking time: 15 minutes

Ingredients
For the roulade:
Olive oil for greasing
50g butter
3 garlic cloves
50g plain flour
300ml semi-skimmed milk
50g Parmesan cheese
4 medium or large eggs
a large handful (about 15g) flatleaf parsley)  

For the filling:
1 tbsp olive oil
25g butter
250g spring greens, such as spinach
1 garlic clove

Method
  1. Preheat the oven. Oil a 23x33cm (or thereabouts)  Swiss roll tin, and line with baking parchment that is slightly larger than the tin, to give you a 2cm boarder all around. Make a diagonal cut in each corner.
  2. Prep your ingredients: finely chop all the garlic cloves, (keeping the 3 for the roulade separate from the 1 for the filling), finely grate the Parmesan cheese, separate the eggs into yolks and whites, roughly chop the parsley and shred the spring greens. Phew.
  3. For the roulade: melt the butter over a medium heat in a large saucepan. Add the garlic and fry for 1 minute. Add the flour and cook for a minute, stirring constantly.
    Gradually beat in the milk, stirring until you have a thick, smooth sauce: at first it'll be lumps of flour floating in milk, but this should change rapidly. 
  4. Remove from the heat and stir in 3/4 of the cheese. Season with pepper and beat in the egg yolks and parsley.
  5. In a separate small bowl, whisk the egg whites to stiff peaks, and then fold into the cheese sauce. Pour into the tin, tipping it to reach all the corners. Bake for 15 minutes until it starts to turn golden.
  6. Meanwhile, heat the oil and butter for the filling in a large frying pan and stir-fry the spring greens for 3 minutes, until greatly reduced and tender. Season well and turn off the heat.
  7. Sprinkle half the remaining cheese over a sheet of parchment larger than the tin. Turn the roulade out onto it and peel off the backing paper. Like with the battenburg, trim off the crusty edges to get a nice rectangle.
  8. Use a slotted spoon to remove the greens from the garlic butter. Spread over the roulade, leaving a 2cm space at one short end. Roll up the roulade from this end, using the paper as a guide. Serve sprinkled with the rest of the cheese and garlic butter. (You can also trim off a bit off either end here too, if you want to get a nice, clean cut roll shape).


Sunday, 13 July 2014

Toad in the hole

Why is toad in the hole called thus? Well, a quick wikipedia search came up with the following highly useful explaination: "Toad in the hole is a traditional British dish consisting of sausages in Yorkshire pudding batter, usually served with vegetables and onion gravy. The origin of the name "Toad-in-the-Hole" is often disputed." Great. This dish is very quick to make, though if you serve it with gravy and vegetables (recommended) it will take longer. Also, you may have noticed I've been doing more mains - the reason being that without Alice around and her trusty collection of one-pot dishes, some responsibility fell on me to make the dinner - so far, I've tried 3 new dishes, including this.

Toad in the hole
Prep time: 10 minutes
Serves: 4
Cooking temp: Gas 7, 220C
Cooking time: 45 minutes

Ingredients
Olive oil, for greasing
454g good-quality sausages (approx. 6 links)
125g plain white flour
2 tsp wholegrain mustard
9 fresh sage leaves
4 sprigs fresh rosemary
3 eggs
300ml semi-skimmed milk
Pepper, to season

Method
  1.  Preheat the oven.
  2. Finely chop the sage leaves. Strip the rosemary sprigs of their leaves and divide into two: chop one half and leave the other as whole leaves. Set aside.
  3. Lightly grease a fairly deep roasting tin with olive oil and add the sausages. Cook for 15-20 minutes until they begin to brown, moving on to the next step whilst you wait.
  4. The the flour, mustard, sage and rosemary in a large bowl and combine. Make a well in the centre.
  5. Crack the eggs into the well and mix with an electric whisk.
  6. Still whisking, slowly add the milk until you have a smooth, liquid batter. Season well with pepper and pour the mixture into a jug.
  7. Take the sausages out the oven and quickly put carefully pour the batter around them, makin sure the sausages are well spaced.
  8. Cook for 25 more minutes, until the batter is puffed up and turning golden.
  9. Serve with gravy and vegetables, and enjoy!