My problem was that I had lots of fabric left over from my lampshades, yet still not enough to make something substantial. Solution: patchwork! The best way to use up scraps of old fabric. I decided to make a table mat, as I needed one to cover my cabinet, but you can follow exactly the same instructions to make a pillow: just stuff it with pillow form before you sew the final edge up. In fact, you can use pretty much the same steps to make a bag, wall hanging, sachet or napkin.
You will need:
Ruler
Stiff card
Pencil/ballpoint pen
Large craft scissors
A selection of fabrics
Small needle and thread
Pins
Iron
Step one: Triangles
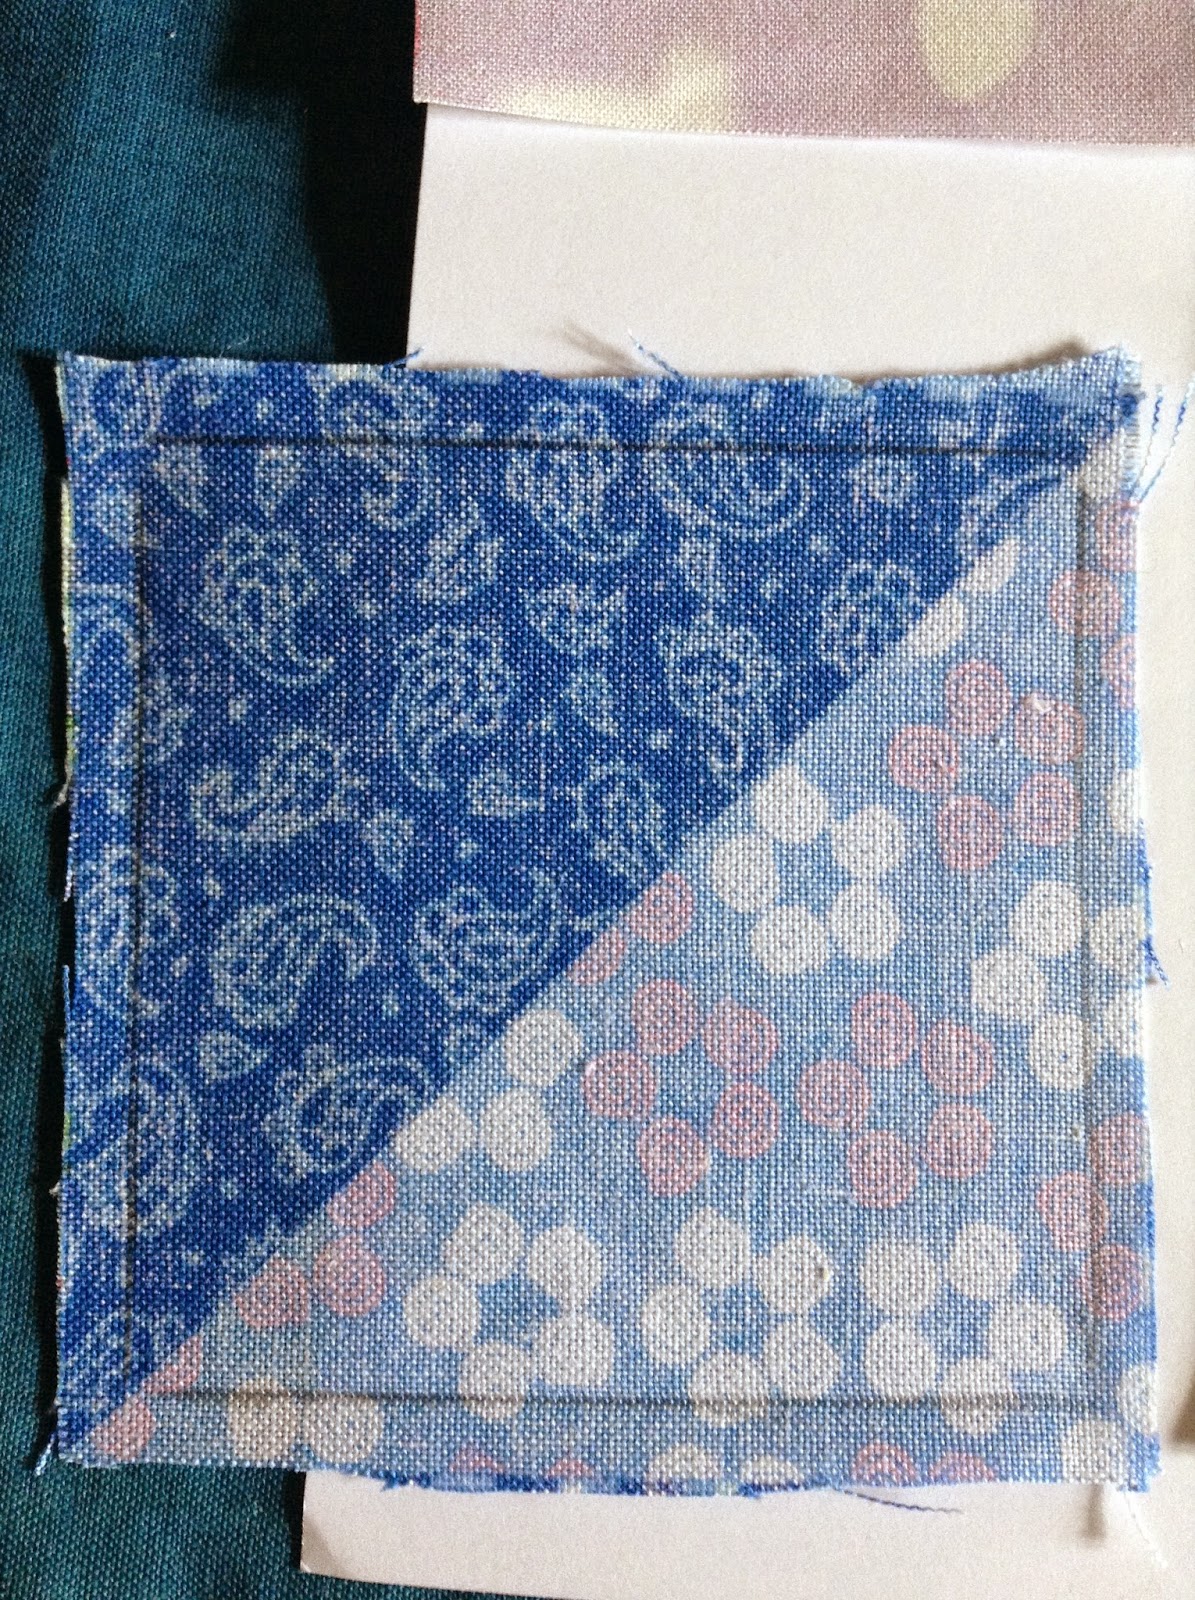
You could just make squares, but why when you could do triangles??? Also, triangles mean lots of interesting design opportunities. The final square will look a bit like this:

Which could, for example, be arranged with a few more identical squares to look like any of these, or more:

Count up the number of squares you need (mine uses twenty)
 |
| My design |


Make two piles for the two colours. Take one pile and flip them over to the 'wrong' side. Then draw a diagonal line crossing the square, making sure if you use a pen that it doesn't bleed through. Take this line and draw two more on either side, 0.6cm away from the central line.


Pin together two squares of different colours, bright sides facing each other.
Using a simple running/line stitch, sew along the two outer lines that you drew. Then cut down the middle line: this will give two sets of triangle-squares. Fold the seam towards the darker colour and press down on both sides with a quilting iron or hot clothes iron. Repeat for all your squares.


Arrange your squares in your pattern, the right way up.

Step two: Assembly
Flip the second square of strip 1 up onto the first square of the same strip, so the bottom of 1 aligns with the top of 2. Sew along the line you drew, making sure it lines up on both sides - this will ensure all the final squares are the same shape. See my lovely illustrated :D diagram if that made no sense:


Repeat with all the squares of the strip, flipping three onto two and four onto three. Turn the strip over and press all the seams towards the top.


Now you can assemble the block. Flip strip 2 to the left, onto strip one, so the bright sides are together. Rotate the strip so that the edge you want to sew along (shown by the arrows) is at the top. Pin the two together. Then use a running stitch to sew the strips together, following the lines.


Step three: adding a boarder
Cut a length of fabric, about 4.5cm wide, that is longer than the perimeter of your piece. Mark out a seam allowance (on the 'wrong' side) on either edge, once again 0.6cm from the edge of the fabric.


 |
| These keep getting better, huh? :D |

Unfold the boarders and press.
Repeat for the last two sides, except this time extend all the way out to the edges of the other boarders: (It's a simplistic drawing, whatever).