Friday, 27 September 2013

Chocolate Chip Cookies

About 3 years ago I did baking at Blackheath Cooks for my birthday. We made many wonderful things, including cupcakes, with fantastic icing. Another thing I remember making were these COOKIES. The most memorable thing about them (apart from loveliness) was that they were so soft and gooey, like cookies SHOULD be: not biscuits, mind.
P.S - keep the last comment in mind when making these. Having two types of sugar and butter-like stuff might seem like faffing around but trust the professionals. I did, and you can guess from the above what I thought of these.

American-Style Chocolate Chip Cookies
Prep time: 20 mins
Serves: 12 cookies... so, one maybe? :D
Cooking temp: Gas 4, 180C
Cooking time: 9-11 mins


Ingredients
185g self raising flour
1/2 tsp bicarbonate of soda
1/4 tsp salt (you can leave this out)
60g butter, room temperature
60g margarine
100g granulated white sugar
100g soft dark brown sugar
1 tsp vanilla extract
1 egg
100g chocolate chips... nice ones if you can get them. otherwise what's the point of going to the effort of two types of sugar?? Hmm???

Method
  1. Heat the oven.
  2. Mix the two sugars to a sandy consistency, then add the vanilla essence. Beat the butter and margarine in too, to a pale colour. 
  3. Add the egg and beat it in well.
  4. Next, pour in the flour, bicarbonate of s. and the salt. Mix well but do not over mix - it should not be frothy. We cooks are particular types. When everything is combined, stop mixing.
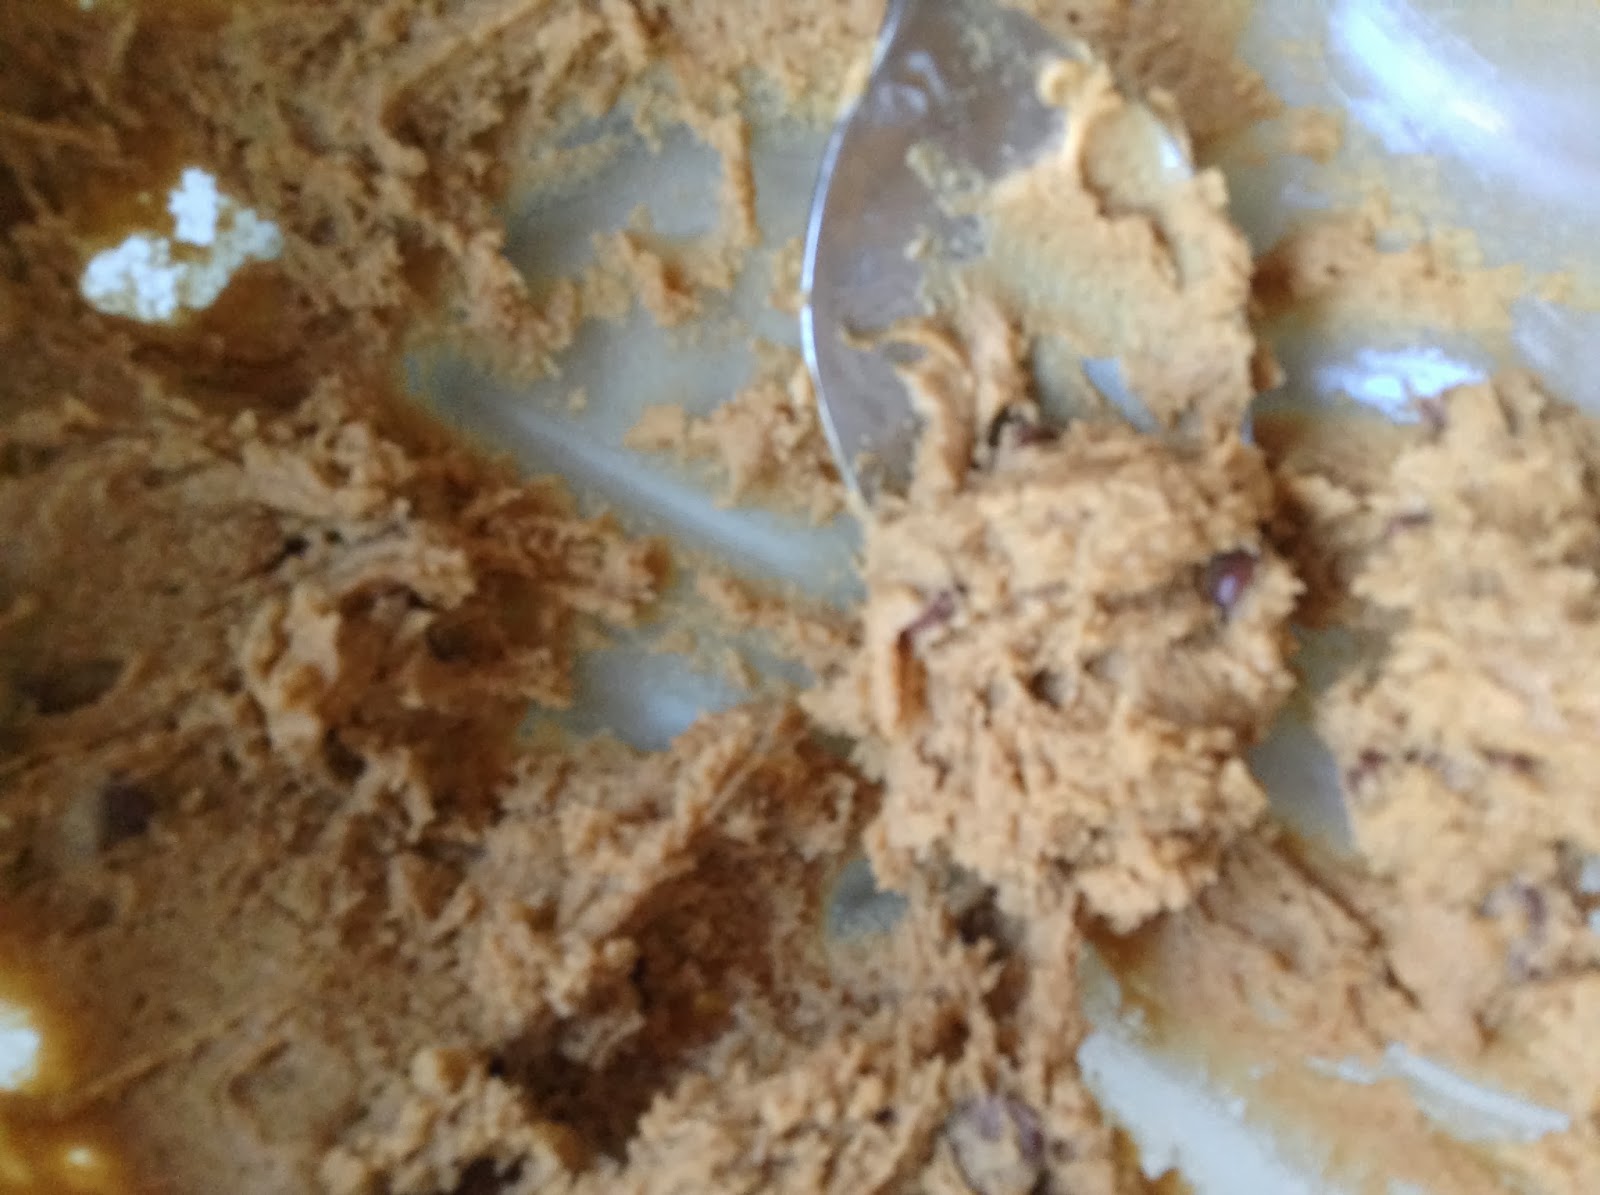
  5. Stir the chocolate chips in.
  6. It should be quite stiff. Drop large tablespoons (be generous! Mine made exactly 12 with large dollops each) of the mix onto a baking sheet, and leave room. They spread - A LOT. So unless you want one huuuge cookie, it might be best to do batches. (I did 3 batches of 4)
    You can use a cookie sheet (see other picture) or a good greasing of butter (above)
     
  7. Bake for 9-11 minutes or until the edges are lightly golden brown (you're not aiming for a healthy coal-black crust). When they first come out they will appear risen and puffy, but almost immediately they should deflate and flatten out to form a nice cookie shape.

  8. Cool for 2 minutes and eat still warm... trust me, they will disappear. They are solid enough to pick up without breaking in about 5 minutes, but can you wait that long?
    A sense of scale!! (By the way, I have big hands)
N.B. The dough can be kept in the fridge for 3 days or frozen for a month... though how could you resist the temptation of just eating it there and then?!?! Unless you're cooking a few dozen batches, of course... then I'm on the same wavelengths as you...
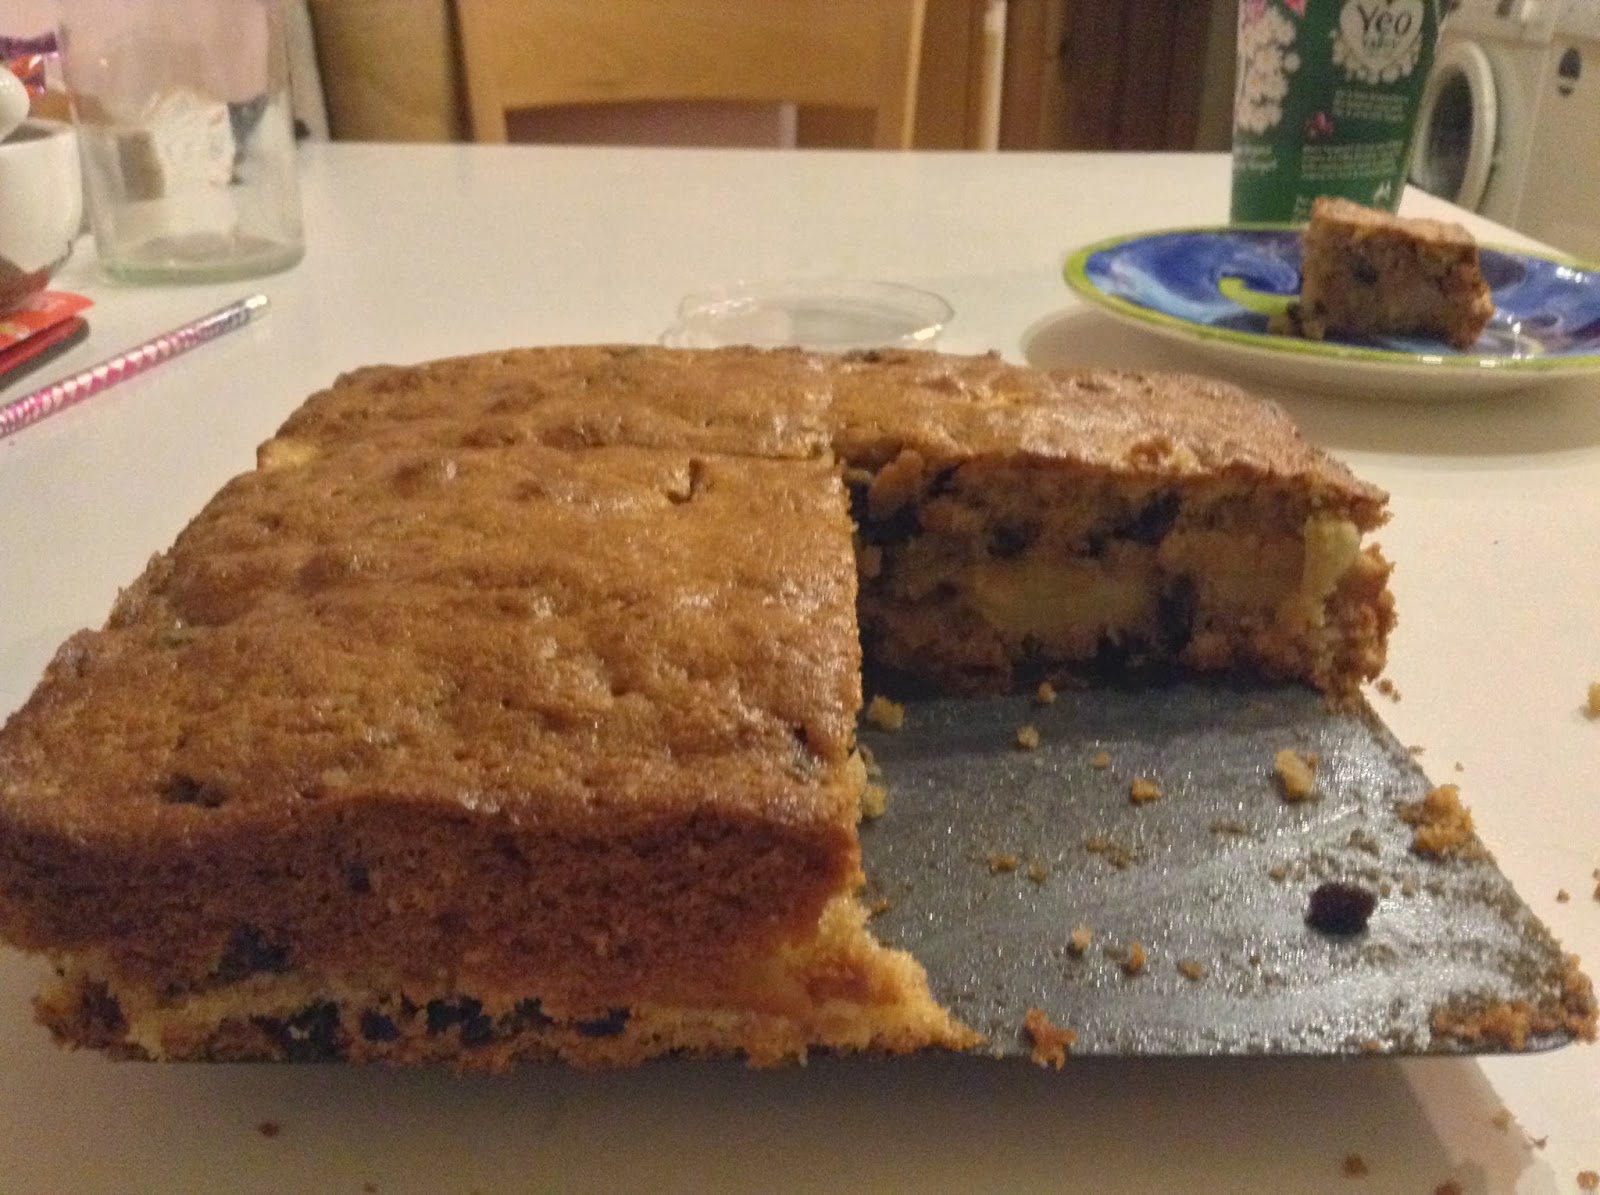
Oh, and I almost forgot: a quick glance at the ingredients list will tell you that, like the Banoffee pie, this should be consumed in as much moderation as you can spare yourself.
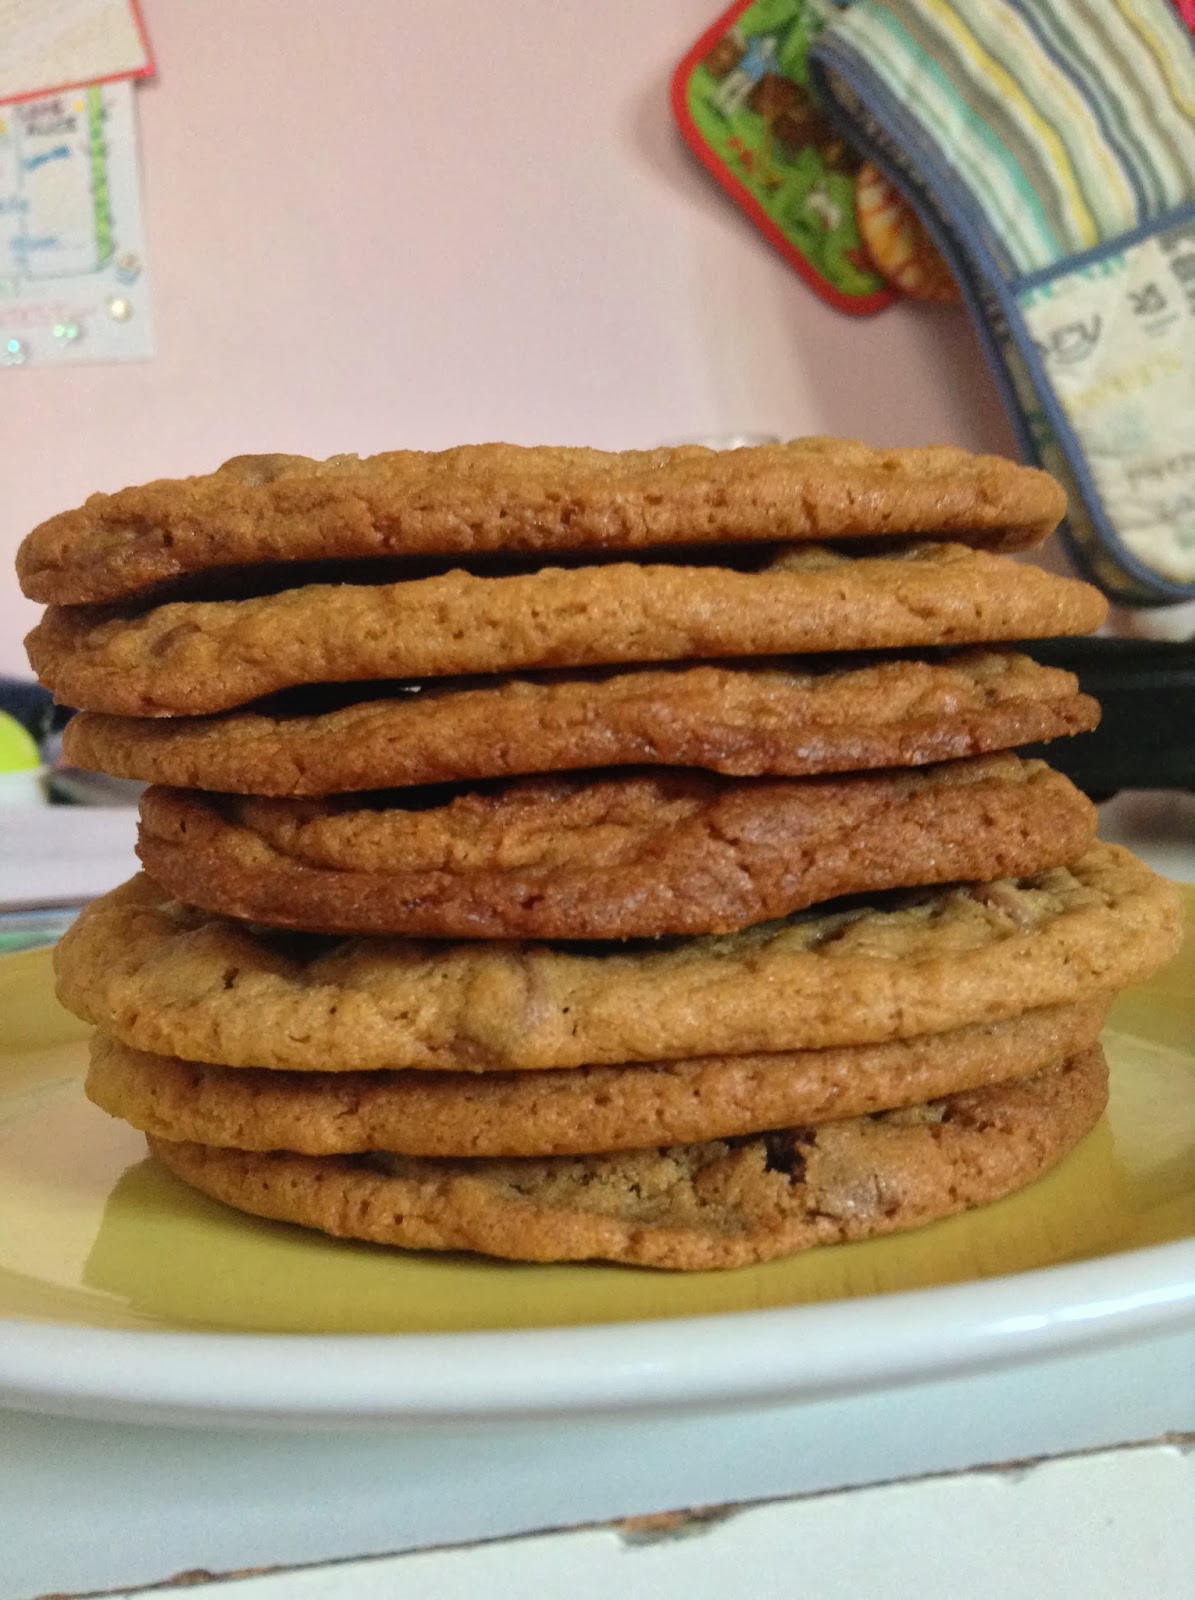
Welcome to cookie towers :D

Monday, 23 September 2013

And Yet More!

In my last detour from food (for a while, I promise...) I thought it would be nice to talk about my last hobby in terms of craft: yes, as well as stitching, latch hook, and candles I also love to make jewellery. OK, so I'm not so prolific or own a huge collection of equipment like some (I'm talking to you, Ana) but I did get a large box of beads for my birthday a few years ago, and I love using them: the beads are unusually shaped, handmade and one-of-kind so I save the centre pieces for special projects. I made these two yesterday, the first is a bracelet with a sterling silver flower and the other is a way to stop me losing my tiny memory stick. Both are very, very basic in terms of beading (a loop and a line) but the result can still be pretty, showing you don't always need to over complicate things:


As well as beading I also really like shrink art, which are basically sheets of plastic that shrink and thicken when heated for a few minutes. This is also really nice and very easy too:


The best thing is, however, that whilst they start looking amateurish, when they shrink the detail seems so much more professional and fine.

Friday, 20 September 2013

Flowers of the Fluffy Kind

Not much stirs deep dislike in me, besides certain people and a close proximity to smokers, but one thing that does is ICE SKATING. Ahhh! Just watching people even roller-skate makes be shiver and mutter unintelligibly. In March 2010 I broke my leg ice skating, which led to no school, yay!, and lengthy periods of BOREDOM, boo. One thing that kept me sane was latch hooking, and after two years (yes, really!) I completed this:
To give you a sense of scale, it's about 60cmx100cm, and it took me so long!! I've also made a smaller sunflower pillow. It does hurt your hands a lot if you spend too much time doing it, but that goes without saying, latch hooking is incredibly easy and along with candle making, sowing and cake baking (duh) it is a trusty thing to fall back on! I would love to hear what you think, or if you have tried/would like to try any of the activities I've mentioned, as I can give really easy instructions for candle making as well as cake baking :)

Candles, craft, cake...

Along with writing, good food and crafty stuff, I have another obsession... candles! Yes, making them. I think I have been making candles for about five years, and have built up quite a collection: owing to my possession over them. I have only burnt two, and are half way through the one I made for my dad's birthday (August, by the way).


It looks lovely when it burns as the candle glows from the inside. Anyway, the process of making candles is half the fun (or maybe even more) as I love to experiment with different techniques and scents, as well as a variety of mould shapes and colours. My favourite type is the layered candle, which is so, so simple. All you need is paraffin wax, stearin, colour, scent (if you want it) wicks and a double boiler. My current collection consists of about 2KG of wax and metres of wick. I like making candles for people's birthdays, as it is so easy, so if you ever need to get me a present, make it candle making stuff.... and you'll probably get a candle back :) . I'm beginning to venture into the world of overdip wax and candle carving, how exciting! If this stirs no emotion in you or a sudden squeal of excitement then you clearly don't share the candle love, but never mind. I plan to write more about them in the future so be warned.... }:) They will be back! Bwahahahaa! Er, yeah, I should probably calm down now...

Monday, 16 September 2013

ART!!!!

OK, I know this is a bit random, and completely off topic, but I have two things I feel an urge to spread meaninglessly with the world... cling film and writers' block!! I know, I know. Nothing to do with food... but anyway. Like it or lump it.
This is cling film art! I discovered it a few days ago. The picture isn't particularly good so you can't really see it, but it is a really interesting technique that makes good background for art book pages... if that is your homework, say. It is also really easy to do. All you need is Clingfilm and water colour paint, and obviously water.
Cover a page in patches of really watery paint, but keeping the colour as strong as possible.
Cut out a piece of Clingfilm, bigger than your paper
Place it onto the paper (still wet) and push it around with your fingers, so the paint gets all mixed up. Leave the clingflim wrinkled on the page.
When it is completely dry, pull off the clingfilm. It should look like the above ^
for the example in my book I left it as this, being merely a background, but to make this a piece of artwork just fill in some of the shapes with darker watercolour. (Below)
This is so simple but could form the basis of much more complex, beautiful pieces of art... not exactly the skill required to do A Level or whatever, but very satisfying :)

And my second point... WRITERS BLOCK!!! Grrrrr. OK, I've probably lost all readership by now, but I will still gripe... This is annoying me SO much. I am still on page 11, staring at the screen, unable to think of what to write next... though I can write mindless streams of consciousness like this, funnily enough. I do have a plan and I do know what is going to happen, but I can't write it!!! Sometimes this goes on for months.... and I'm still on the prologue. I heard that some author solves this by hanging upside down. I haven't tried it yet, but judging by the quality of his books, I'm not sure I want to.... (no names). Anyway, I've ground to a complete stop, so for now there won't be any release dates :(. At least Alice has the second book to read before she starts demanding this one...

Cauliflower Macaroni

This blog is, partially, for people like me, who aren't exactly master chefs who can do anything: for one, I'm often wary with using meat, terrified that I might food poison my family or something... but this, along with the burgers, is a recipe involving meat that I feel comfortable with. It is very easy, too, and although it is quite basic I do love it and think I might live off it in college.

Cauliflower Macaroni
Prep time: As little as 30 mins
Serves: 4 hungry people
Cooking temp: Gas 7, 220C
Cooking time: 8 mins (for final stage)

Ingredients
8 slices of bacon
1 small cauliflower head
500g dried macaroni
250g cheddar cheese
4 slices of bread
seasoning: rosemary
2 cloves of garlic

Method
  1. Heat up the oven.
  2. Boil a full kettle of water.
  3. Chop up the bacon into small slices and fry in a shallow pan with oil.
  4. Take off the cauliflower leaves and the tough bit of the stalk. Quarter the rest and put in a saucepan, head up. Add the pasta and cover with boiling water, re-boiling if you have to. Cook according to packet instructions: usually 10-12 minutes.
  5. Blitz the bread, rosemary and bacon together with a good serving of olive oil to form course breadcrumbs.
  6. Drain the pasta and cauli, saving the water. Tip them into a roasting tray (30x25cm) and break up the cauliflower into smaller pieces. Add 400ml of the pasta water.
  7. Crush in the cloves, and grate the cheese over the top.
  8. Scatter over the breadcrumbs to cover the whole thing, and bake in the oven for 8 minutes, until bubbling.
This is an adaptation from Jamie Oliver's 30 Minute Meals.


Sunday, 15 September 2013

Chocolate Cupcakes


OK, so everyone has made a cupcake, right? There are so many wacky flavours out there: rose and violet, tequila, custard, tomato (I've seen it, believe me)... you could buy hundreds of books dedicated solely to these tiny teatime treats. These seem like bog-standard chocolate cupcakes: nothing special, just, er, chocolate cupcakes. HOWEVER (you knew it was coming) the icing is DELICOUS. Literally, it's the only icing I can scrape out the bowl, feel queasy and still carry on eating. The original suggests double the amounts I give but trust me, Alice and I worked out that if you follow the original there would be twice as much icing as cake! And that would be a bit OTT. This variation has been carefully tried and perfected on each batch. Now, it is finally ready to present itself to the world. I give you, chocolate cupcake V1.2.... (This recipe is (C) Esme MP. Thank you, Esme!)

Chocolate Cupcakes
Prep time: Same as any other cupcakes: about 20 mins
Serves: Makes 12 cakes
Cooking temp: Gas 3, 160C
Cooking time: 20 mins

Ingredients
100g plain flour
20g cocoa powder
140g caster sugar
1.5 tsp. baking powder
40g unsalted butter, room temp.
120ml whole milk
1 medium egg
1/4 tsp. vanilla extract
For the buttercream icing:
300g icing sugar, sifted
100g unsalted butter
40g cocoa powder
40ml whole milk

Method
  1. Heat the oven.
  2. Sift the flour, cocoa, sugar and baking powder into a bowl. Add the butter and mix to form a sandy consistency: you can mix with your hands to make it really fine, at the end.
  3. In a jug, mix together the milk, egg and vanilla essence. Pour half of it into the bowl and fold into the dry mixture. When it is all mixed in, add the rest. Don't over mix: flour doesn't like it and it can make cakes stodgy.
  4. Spoon it into 12 cases and cook for 20 mins. It SHOULD be sloppy: don't add more flour. This consistency means the cakes are lovely and light.
  5. ...and that's it for the cakes! Whilst they're cooking, move onto the icing.
  6. Beat the icing sugar, butter and cocoa powder in a bowl. Add the milk slowly and beat it in, stirring constantly for a few minutes until it is lovely and smooth. The quality should be velvety and fairly hard to mix: this is good, because it means that piping won't be a problem.
  7. When the cupcakes are done, take them out to cool. Don't ice before they are stone cold as otherwise the icing will melt on top and soak into the cake.
  8. Use a piping bag to ice the cakes. You can spread the icing, too, but this looks very pretty and it holds well.
  9. Decorate how you want. I use purple edible glitter and purple flowers, which really adds a suave, professional touch, as the icing is so dark and smooth. Silver balls go well too, I personally wouldn't go for sprinkles but it's up to you! After all, you're the ones who are going to eat them.
Please tell me how any of the recipes went, I would love to hear your variations. I hope you've all found at least one thing you like!

TIP: When spooning out cupcake mix, use a ice-cream scoop: this keeps them nicely uniform and the same size, great for presentation. Display on  a cupcake stand and ta dahh! You could sell them for five pounds a piece.

Oat Biscuits

The point of this blog is to share recipes (and musings) from my own experiences, and this is another that I proudly put the stamp of approval on. These also have a story behind them (no dragons or epic battles, I'm afraid). I collected this recipe last time I was in Australia, 2006. I was pretty young (you can tell that by the handwriting that I'm copying this recipe from) and have been making them since. At first, my sister was determined not to like these biscuits, as they weren't her biscuits, but she too has fallen in love with them and I hope you do too. They are definitely best served warm, preferably fresh from the oven. Store in air tight containers for a few days, and they'll keep well. This recipe is quite similar to flapjacks, so if you like them, you'll love these oaties....

Oat Biscuits
Prep time: 20 mins
Serves: Makes about 24... you decide who gets to eat them!
Cook temp: Gas 3, 160C
Cook time: 10-15 mins

Ingredients
200g margarine
120g caster sugar
4 spoons of golden syrup
300g porridge oats
100g plain flour

Method
  1. Melt the butter fully and pour into a bowl. Add the sugar and stir. You should get a sloppy, sugar mix.
  2. Sift in the flour and mix
  3. Add that golden syrup. The mixture should be getting a bit thicker.
  4. Add the oats and, you guessed it, mix again. This can be quite hard as it is stiff to stir, but make sure all the oats get coated and turn golden-brown. There should be no flour sitting at the bottom of the bowl.
  5. Spoon into a dipped baking tray: most are 12-holed so you'll probably need two. The mixture should be firm enough just to press in with your hands. Do not over fill as they will burn at the top.
  6. Cook, swapping round the trays half way. They should be a golden colour and squishy: don't be fooled, as they cool they will harden up so don't put them back in. When they have begun to cool the biccies will literally pop out; I've never felt need to grease the tins. However, you might have to use the end of a spoon or a spatula to lever them out and they should come in one piece.
  7. Eat while still warm. They are quite dense but very nice, enjoy with tea/favourite warm drink as they do make you quite thirsty with all that syrup!

Apple Cake

Appley Lovliness!
Before I embark on sharing yet more secrets of the Guillaume kitchen, I think I need to spare a moment to give some due thanks: firstly, to my long-suffering sister Alice, for reading my books and editing them, as well as creating this wonderful recipe I'm about to detail and the last one. Secondly, to Ana, for inspiring me to make this blog and writing one of her own which is very good and a lot better written,  as well as giving me a ginger nut recipe which allowed me to use up the crystallised ginger I'd had lying around. And to you, whoever you are, for reading this, and if you're Ana or Alice then double thanks :)
On to the recipe. This is (again) Alice's, and though there are probably other variations out there use THIS one, as we all trust Alice, don't we? :) It is like the raspberry cake in that it is a cake with fruit, but the similarities end there. It makes an excellent (though unhealthy) lunch snack, and dessert. Eat and smile!

Apple Cake
Prep time: 20 mins
Serves: 8
Cooking temp: Gas 4, 180C and Gas 3, 160C
Cooking time: 45 minutes in total

Ingredients
175g butter
175g caster sugar
175g self-raising flour
1 tsp. cinnamon powder
3 medium eggs
2 tbsp. semi-skimmed milk
2-3 eating apples
100g raisins (optional)
Method

  1. Add the cinnamon to the flour and sift into a small bowl.
  2. In a separate bowl (larger) cream the butter and sugar together. it should be fluffy and light.
  3. Beat an egg in a cup then add to the butter mix. Then add a tablespoon of the flour mix to this.
  4. Repeat this for the two other eggs.
  5. You should still have some flour left over. Add 2/3 to the cake mix. Mix in the raisins.
  6. Stir in the milk and add the rest of the flour to the mix, so now everything is all in one bowl.
  7. Set this aside. Peel and core the apples, then slice them very thinly, though not until they are translucent.
  8. Grease a baking tin, approx. 11x8 in.
  9. Spread half the mixture in the bottom.
  10. Layer the apples on top, like you do with the banana in Banoffee Pie. They should cover the cake.
  11. Cover them with the rest of the mixture.
  12. Bake for 15 mins at Gas 4
  13. Bring the temperature down to Gas 3 for the last 30 minutes.
  14. It should be golden and firm to touch, but slightly springy. Test with a knife: if it comes out with mix still attached, cook for 5 more minutes.

You might wonder why the apple is layered in the middle, rather than mixed in, but this really does add to the taste: it's like taking  a bite of cinnamon cake, and the apple bursts through nicely in the middle... OK, arty cookery description over, but joking aside: the cinnamon and the apple are perfect together. Reminds me of Christmas, but can be eaten at any time of year!

Raspberry Cake

All natural colour, nothing artificial
The most special of all cakes...
This time, the recipe really does have a history: invented by my sister when she was much younger, my mum likes to tell the story of how she prepared herself to 'grin and bare it', not wanting to offend the young cook... only to be surprised to find that it was one of the most delicious cakes ever invented! So this one comes straight from Alice, a well-kept secret, until now. It is fabulous, and the amounts are so easy to remember.

Raspberry Cake
Prep time: Same as any other cake, plus 5 mins for raspberry cooking
Serves: 10
Cooking temp: Gas 3, 160 C
Cooking time: 35-40 mins

Ingredients
100g butter
100g sugar
200g fresh raspberries
100g self-raising flour
1 tsp. baking powder
2 medium eggs

Method

  1. Heat up the oven.
  2. Soften the butter, but not to a melt, and cream with the sugar in a large mixing bowl
  3. Crack the eggs into a cup and whisk with a fork. Set aside for now.
  4. Add the baking powder to the flour and pour some into the bowl. Then add some egg, but not all of it. Stir and repeat this alternating process until all of both has been used up.
  5. You will now have a very basic cake mix - it shouldn't be lumpy (you can sieve the flour in step 4 if you want)
  6. Put the raspberries in a small pan with a tablespoon of water and heat gently with the lid on, for five minutes. The raspberry juice should start to spill out.
  7. Strain the juice through a sieve, into a jug, to remove the pips. You should get quite a bit of juice.
  8. Add this to the cake mix. (You can save some for the icing: not much is needed)
  9. This can make the mixture slightly too sloppy, add flour if this is the case. The mixture should  drip from a spoon, not run like water. It will be a pleasant purple-pink colour by now.
  10.  Spoon it into a greased baking tin and cook. The cake should rise to a light purple-brown colour. Stick a knife in the centre: if it comes out with mix attached, cook for five more minutes.
  11. To decorate, make a simple icing, but with the raspberries instead of water. This makes a really nice pink colour, and there's nothing artificial! For decorations, try...
-Fresh raspberries
-Silver or gold balls, which go well with the colour
-freeze dried fruit flakes, available at cook shops
-or, of course, anything you want!

This is a really nice recipe that was home-crafted, I've never seen it on sale anywhere: when you eat it, you'll wonder why!

A Break From Food...

As the title suggests, this is a brief pause from the food world. I am a writer, as most people who will read this probably know, albeit an amateur one... right now I'm on the third book of my trilogy, page 11 or something, so I still have  a way to go. The title of the trilogy is Luxurious Perpendicular's School for the Naturally Erratic, and the books are:
The Perpendicular Pendant
The Golden Heist
The Elegant Murders
(See a theme going on there?) Anyway, I do pride myself on unusual names, taking a leaf out of the book of Derek Landy, that most sacred of authors. However, Luxurious hasn't yet come into it. As well as the names I love to make the characters, and what I would love above all else was for someone to exclaim 'yes! I'm like that too!' because that would say I've done my job in portraying them, or at least show that they have some sort of characteristics.
Note, I say 'someone', but the only person that has read the books yet is my sis and me of course, though that doesn't really count... I would really like to expand my readership empire :) So once I've written a few hundred more pages and finished the last one, I'll let you know! They're quite short (238 and 261 respectively, I think) but did take a lot of thought, smashing keyboards as I realised something didn't work, love and attention to write. Sometimes I read books and think, 'how could you write a character like that? They're so annoying!! (I'm talking to you, Valkerie Cain, amongst others) but I've found you fall for your own characters, annoying or not, as you made them that way. So when my sister goes, 'why can't they become evil and die? They're my worst character' I can chuckle evilly and tap my nose in an infuriating manner, drawling 'you'll have to wait and see what happens'.
So what are they about? I realised I've gone on for a few paragraphs now and have beat around the bush, so to speak. The books are set around a school in a place I imagine a bit like the Lake District, but in a parallel existence. In fact, not much happens at the School itself as that wouldn't be that interesting and would probably read too much like Harry Potter, minus the wands.
At the school there are exactly 100 pupils, and we follow the story of six: Riot, Chazmere, Cal, Sam (girl) Wally and Berligo. The main characters are probably Riot and Chazmere as the first book begins with how they ended up at the school. Chazmere is an orphan and comes from Smith-Smithson's College, with it's evil secretary Mr Sin Kriner. Riot is the only son of a rich Irish family who believe he is hyperactive and send him to various hippie/alternative lifestyle schools to 'balance his inner karma'. Other characters include...
Soprano, head governor at the school.
Forte Nemesis, daughter of the owner of the island on which the school stands
Zacharias, evil worm
Pettifer and Dystopia Storm, Outcasts
Sienna and Alekzanda Elegant, mother and her psychotic son
Xavierino Escapade, petty criminal
Petra Phy, Snow Trekker
Knowbody Knowes, Snow Trekker
And LOADS more, I would tell you more but it would go on for a very long time... more updates on my books later, including frustrations and anything else! Please tell me what you think!!!!

Burgers

This is another recipe that you can keep coming back to... providing it's not too often. I, personally, have no great love for McDonalds, and I'm sure it's mutual. On the other hand, these burgers are first-class. I discovered this recipe quite a few years ago, and they are a dead cert for the BBQ, served with buns and salad. If you're not a vegetarian try them, though a quick warning: they don't look appetising in the making process but the end result is... mmmmm. Nuff said.

Mini Burgers
Prep time: Never very long. 30 mins tops.
Serves: 8, or 4 if you have two each
Cooking temp: Gas 6, 200C
Cooking time: 11 mins

Ingredients
500g minced beef
1 small onion
50g/2 medium slices bread
2 free range eggs
1 tbsp. soy sauce
1 tbsp. tomato ketchup

 Method

  1. Heat up the oven,
  2. Put the meat in a bowl and break it up into smaller chunks.
  3. Slice the onion roughly, then blend with the bread to make oniony breadcrumbs (surprise, surprise). Mix this in with the mince.
  4. Crack the eggs into a cup and whisk with a fork. Add the egg to the meat and mix... not very nice looking at this stage, but persevere!

  5. Add the soy sauce and ketchup, mixing everything together so there are no lumps of bread.
  6. Prepare a baking tray with a cookie sheet (non-stick plastic, or just grease with butter).
  7. Wet your hands and pick up the ball of meat, breaking it up into 6-8 pieces. Technically, you can make more, but they will be smaller and they will need a different cooking time
  8. Roll each one into a ball with your hands, place on the tray and flatten slightly. They can spread out a bit in the oven so keep them apart.
  9. Cook until they are brown, and not raw on the inside (d'oh!) You may need to flip them over at 6 minutes.
  10. Serve with rolls and whatever you have with burgers. An alternative to cooking in the oven is to put them on the Barbie. Same result.


Banoffee Pie

Hello again!! My first recipe is very close to my heart... I would say it's my earliest childhood memory, eating the stuff whilst skipping through green glades of the English countryside... but I'd be lying and now I'm rambling again. It's just occurred to me that this might get a bit text-heavy, but do not fret (if you happened to be) as I plan to add a few visual aids later... for now, here's the recipe.

This is truly THE BEST banoffee pie. Do I have anything to compare it to? Um, not really. Is it still absolutely gorgeous? YES! It's a combination of the Hairy Biker's and the BBC GoodFood recipe, perfected. Don't listen to anyone else: this is tried-and-tested, and definitely my birthday cake this year. Follow the instructions and you can't go far wrong... unless you eat it all before it's done. (is there a word for the excessive use of ellipsis? I am guilty of it.) So it's om nom, easy AND a sure favourite! Can you get better?
All the ingredients

Banoffee Pie
Prep time: 1 hr 40 mins (don't be daunted)
Serves: 12
Cooking temp: Gas 4, 180C
Cooking time: 10-12 mins (for toasting the biscuits)

Ingredients
300g original Hobnobs (that's a whole packet) 
100g melted butter
3 bananas
350ml double cream
1 tbsp. icing sugar
chocolate to grate on top
For the caramel:
397g condensed milk, sweetened (yes really, 397! That's how it comes)
115g muscavado/brown sugar
115g butter

Method
Finished result... hungry now?
  1. Heat up the oven.
  2. Crush the biscuits up, either with a spoon or a blender.. a blender is easier but make sure there is a lid! The crumbs should be fine. Alternatively, you could put the biscuits into a freezer bag (sealed) and smash with a rolling pin until they are a fine powder, then empty into the bowl.
  3. Add the melted butter (100g one) and mix well. Press it into a 24cm baking tin with a removable bottom and fairly high sides: this is so it doesn't go sloop everywhere. The biscuit should nicely press over the bottom.
  4. Bake for 10 mins until golden brown and set. Leave aside to cool.
  5. Take a non-stick saucepan and melt the butter (115g). Add the brown sugar, stirring constantly. Cook over a low heat. The mixture should be smooth with no oil globules (yucky!!)
  6. Add the condensed milk and bring to a simmer (keep stirring!) cook for 3 minutes, in which time you should get a lovely caramel-brown colour.
  7. Pour it all over the biscuit base and chill in the fridge for an hour. This will help it set (don't put anything hot in the fridge, it should cool first.)


  8. Take out the tin and chop up the banana into slices. Cover the caramel in the slices. You can use other fruit too, strawberries are nice for summer.
    Avec strawberries... strawboffee!
  9. Whip the icing sugar and cream together until it forms peaks but is still spreadable. Cover the banana.
  10. Grate over chocolate.
  11. Remove the sides of the tin and it should keep together. (you might want to chill it again for a bit) And that's it! A note of warning, this is pretty calorie packed, and can last a few days in the fridge and still keep. I am not to be held accountable for addiction/overeating!
    Ta dah! Mmm.